
How to Apply for ILR: UK Settlement Process
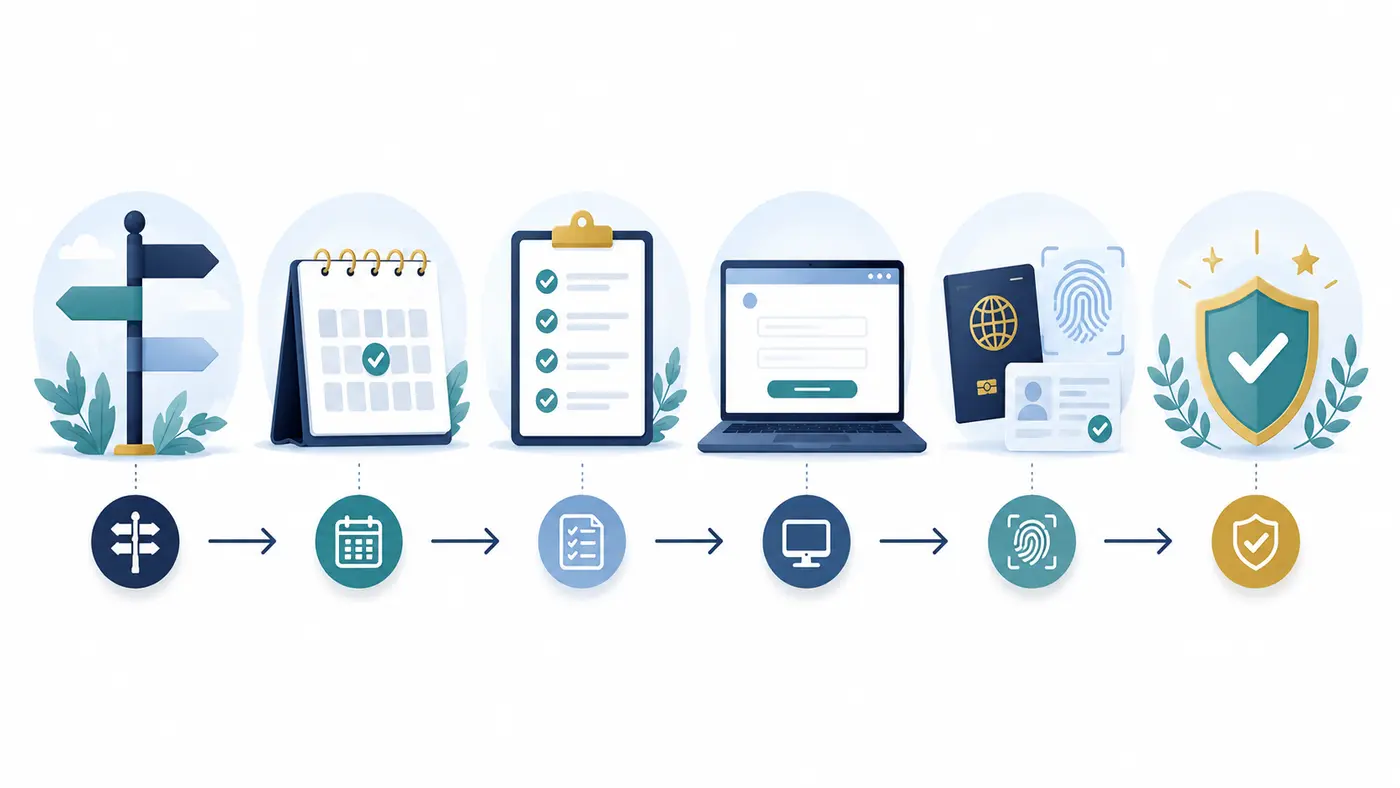
Reviewed against official sources on 29 August 2026. This step-by-step guide explains the usual process for applying for Indefinite Leave to Remain in the UK. Requirements differ by route. It is general information, not legal advice.
An ILR application is more than an online form. Before submitting, you need to identify the correct settlement route, confirm that the qualifying period and continuous-residence rules are met, prepare route-specific evidence, and use the right application service.
1. Identify the correct ILR route
Start with your current immigration permission and the settlement provision attached to it. Common routes include Skilled Worker, partner or spouse, Global Talent, UK Ancestry, certain protection routes, and Long Residence. Each has its own eligibility requirements.
The official GOV.UK ILR hub links to route-specific guidance. Our ILR visa routes guide provides a comparison, but the current Immigration Rules remain the controlling source.
2. Check the qualifying period and application date
Confirm the length of residence required for the route and which grants of permission can count. Do not assume that all previous visas can be combined. Use our visa-route combination guide and qualifying-period start-date guide to build the timeline.
For routes covered by Appendix Continuous Residence, CR 1.1 allows the qualifying period to be counted back from the most beneficial of the application date, a date up to 28 days after that date, or the decision date. This is a calculation rule, not permission to ignore other requirements.
The ILR Calculator UK can estimate a full qualifying date and an earliest planning date after you have selected a defensible start date.
3. Review absences, gaps and immigration history
Prepare a complete travel history using departure and return dates. Where Appendix Continuous Residence applies, test every relevant rolling 12-month period rather than using an annual average. Only whole days abroad are normally counted under the current guidance.
Use the ILR absence calculator as a checking tool. Separately review gaps between permissions, late or invalid applications, overstaying, and any period said to be protected by section 3C leave.
4. Check knowledge of language and life
Many ILR routes require the Life in the UK Test and evidence of English at the required level, unless an exemption applies. The two requirements use different evidence and validity rules.
- Read the Life in the UK Test guide.
- Check the English-language requirement guide.
- Verify any age, medical or route-specific exemption against current official guidance.
5. Assemble documents around the route requirements
Your evidence should prove the facts asked about in the application. The exact documents vary. They may include identity and status records, travel evidence, employment or sponsorship documents, relationship evidence, financial evidence, English evidence, and the Life in the UK pass reference.
Use the ILR document checklist as an organising framework, then replace general categories with the exact evidence required for your route. Check that names, dates and addresses are consistent across the form and documents.
6. Choose the correct online form
The application form depends on the settlement route. SET(O) is used for a range of settlement categories, while SET(M) is associated with certain partner or parent applications. Other routes have their own online services. Do not choose a form solely because its name looks familiar.
- See our SET(O) form guide.
- See our SET(M) form guide.
- Follow the application link from the current official page for your route.
7. Complete, check, pay and submit
Answer the online questions using the evidence in front of you. Save a copy of the completed form and document checklist before submission. Check dates, travel entries, route history, criminality declarations, relationship information and financial figures carefully.
The fee and optional faster-decision availability can change. Review our ILR fees and processing-times page, then confirm the amount and service offered within the official application process. Submission normally creates the legal application date, so do not submit as a test.
8. Prove identity and provide biometrics
The application service will explain whether identity is proved through an app, an appointment, or another supported process. Follow the instructions generated for the application. Upload the required evidence by the stated deadline and keep confirmation of what was provided.
9. While waiting for a decision
Monitor the contact details used for the application and respond to valid Home Office requests by their deadline. Travel outside the Common Travel Area while an in-country application is pending can cause an application to be treated as withdrawn in relevant circumstances, so check the current rules before travelling.
Standard and faster processing times are targets rather than guarantees. Complex histories, document checks and requests for further information can extend the process.
10. After ILR is granted
Read the decision carefully and check the personal details and status shown in your UKVI account. Our ILR eVisa after approval guide explains access, share codes, linked travel documents and common next steps.
Final pre-submission check
- The route and online form match.
- The qualifying period is complete under the relevant calculation.
- Absences and immigration gaps have been checked.
- Every material answer is supported by evidence.
- Translations and declarations meet the current instructions.
- The fee, service and submission date have been checked on GOV.UK.
If the route, immigration history or evidence is uncertain, consider advice from a regulated immigration adviser before submission.
Last reviewed: 29 August 2026. Editor: Howard Wilson. Read our editorial standards.